Overview
This guide will help you how to Clone an installation. You can clone an installation to test the upgrades or the changes before applying it to the main installation.
NOTE : Clone functionality is available for several scripts but not all. We will be adding it to more scripts soon.
NOTE : Clone has been added in Softaculous 4.2.8
Clone is supported for the scripts listed on the following page :
http://www.softaculous.com/docs/Clone_Scripts
NOTE : If you have your site already installed manually. You will have to import it to Softaculous. Here is the guide How_to_Import_an_Installation
We will be taking an example of a WordPress installation. We will clone the installation to a sub directory clone.
1) Login to Panel
- Go to your panel (e.g. cPanel’s url will be https://domain.com:2083) and login with your details.
- There click on the Softaculous Icon or Link.
- The Softaculous Enduser Panel will be displayed.
- Go to all installations page.
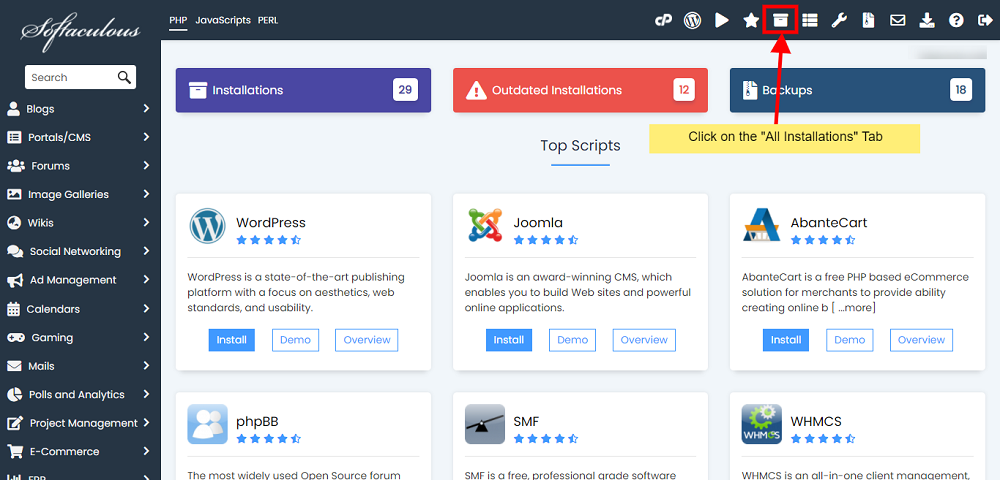
2) Choose the installation you want to Clone
- Click on the Clone icon next to the installation you wish to clone.

- The Clone page will appear with the current installation details and a form to fill in the details for the cloned installation.
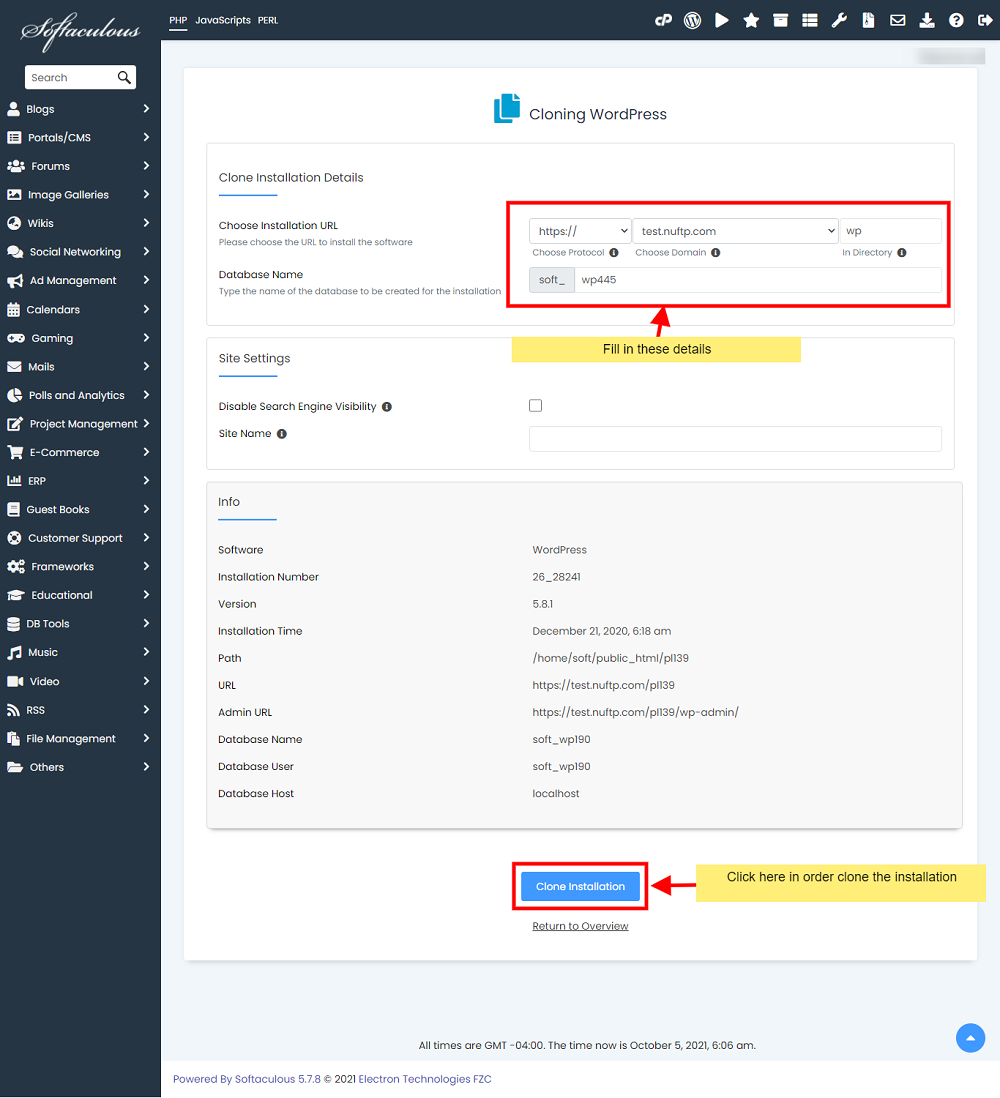
3) Fill in the Clone Installation Details
- Fill in the clone installation details i.e. Choose domain, Directory, Database name, etc
- Click on the Clone Installation button and this should do the trick. The time taken may vary in accordance to size of your installation, So please be patient.
- That’s it !! You can now use this cloned installation to test the updates or any other changes you may want to test.
NOTE : You will receive the clone installation details via email (if the emails are enabled).
NOTE : The admin/user account login details will be the same as the source installation.