
Overview
The following guide will show you how to enable auto upgrade for your installations from Softaculous Enduser panel. You can enable auto upgrade for a particular installation and then that installation will be auto upgraded via CRON as soon as the new version is available in Softaculous.
NOTE : Auto Upgrade feature is available in Softaculous 4.2.1 and higher.
NOTE : This feature is available for selected scripts at the moment. We will be adding it to more scripts soon.
List of scripts with auto upgrade functionality
You can check the list of scripts with auto upgrade functionality here :
http://www.softaculous.com/softaculous/auto_upgrade
Enable Auto Upgrade for new installations
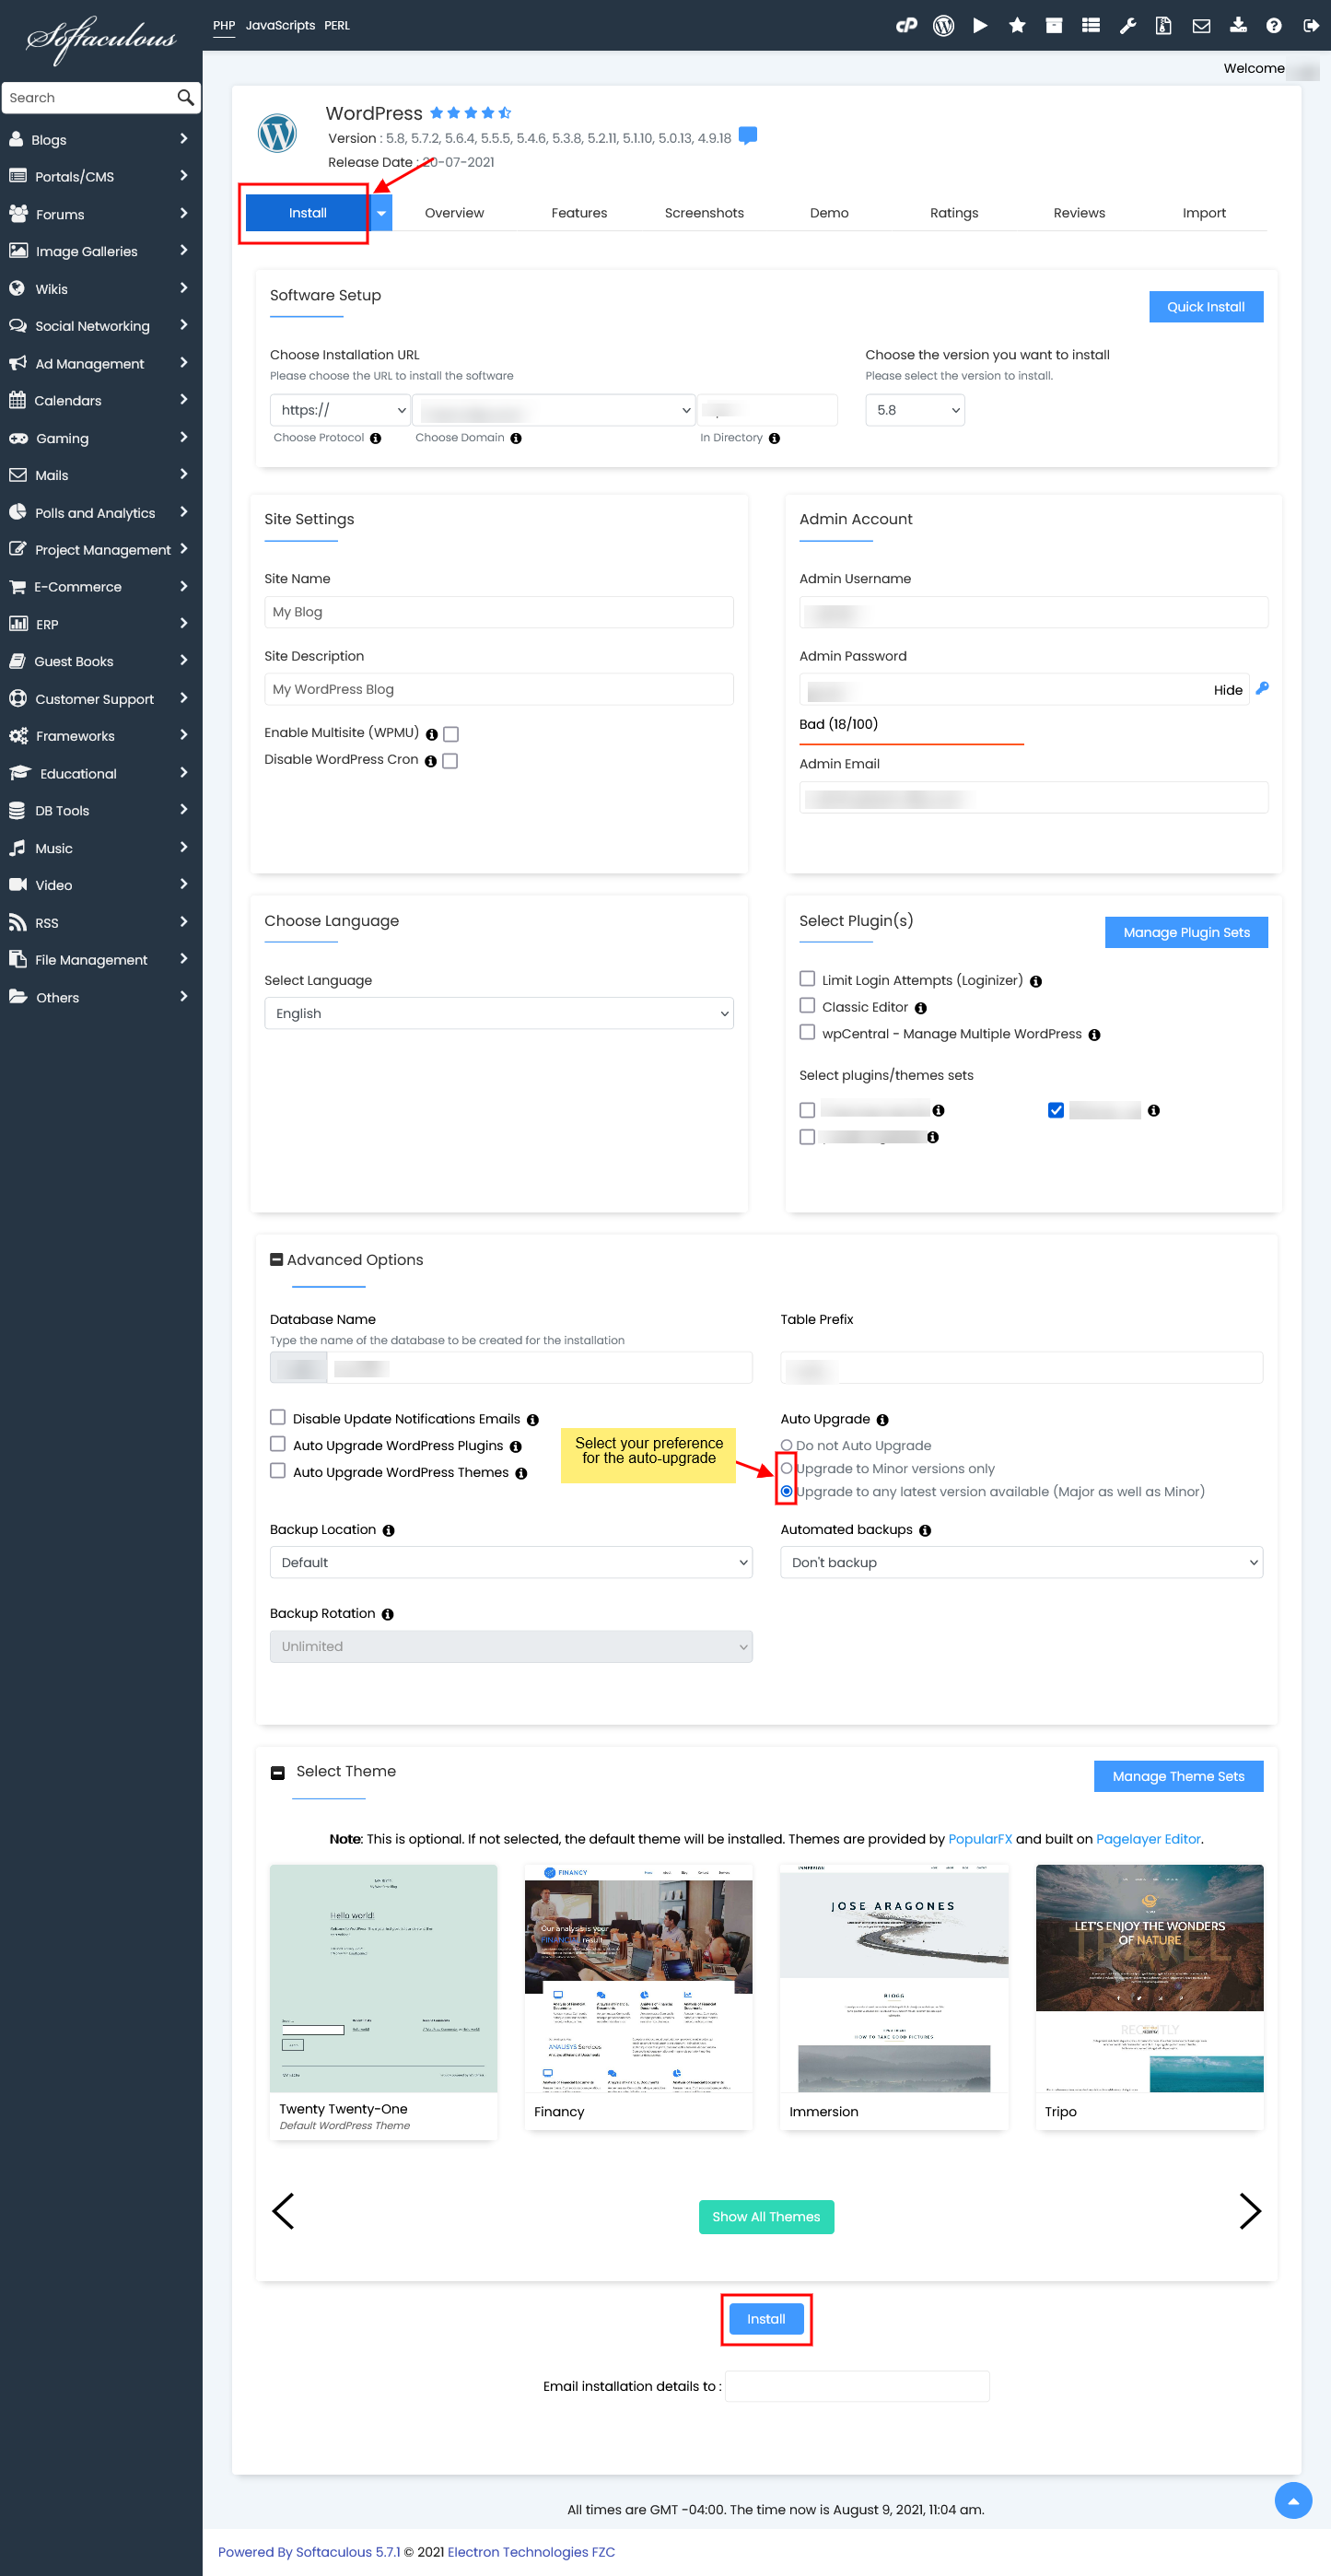
You can choose the option to enable auto upgrade for an installation while installing it from Softaculous.
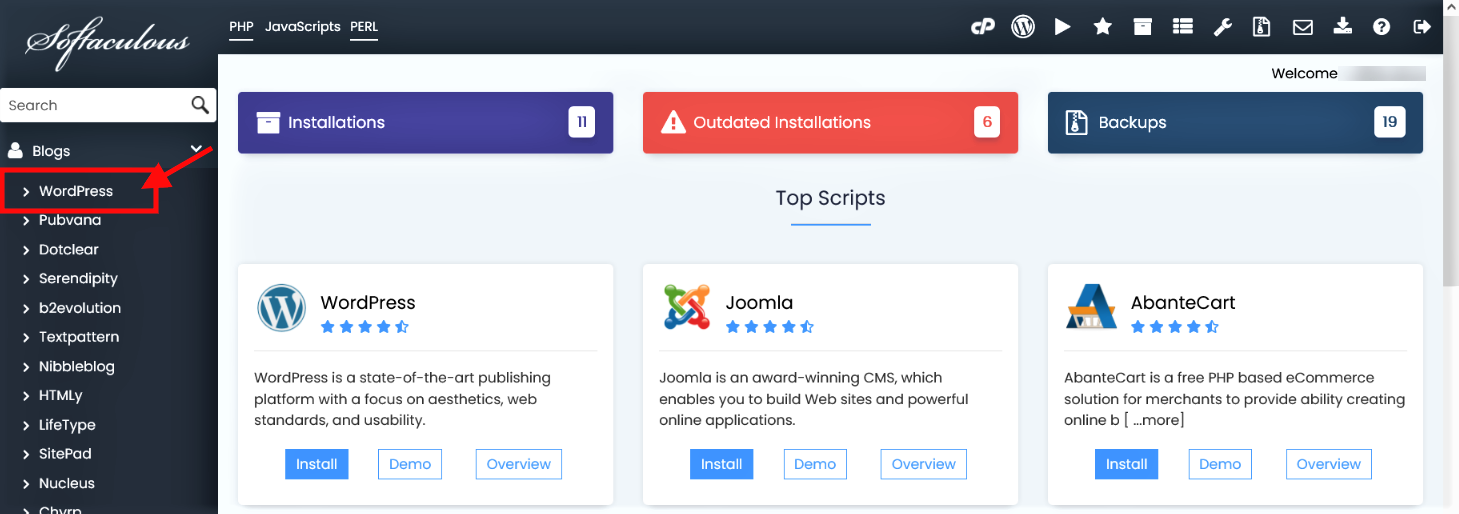
- Choose the script you want to install.
- Click on the Install tab.
- Fill in the details.
- Select the Auto Upgrade check box and then click on Install button.
- That’s it !! Auto Upgrade is now enabled for the installation you just made.
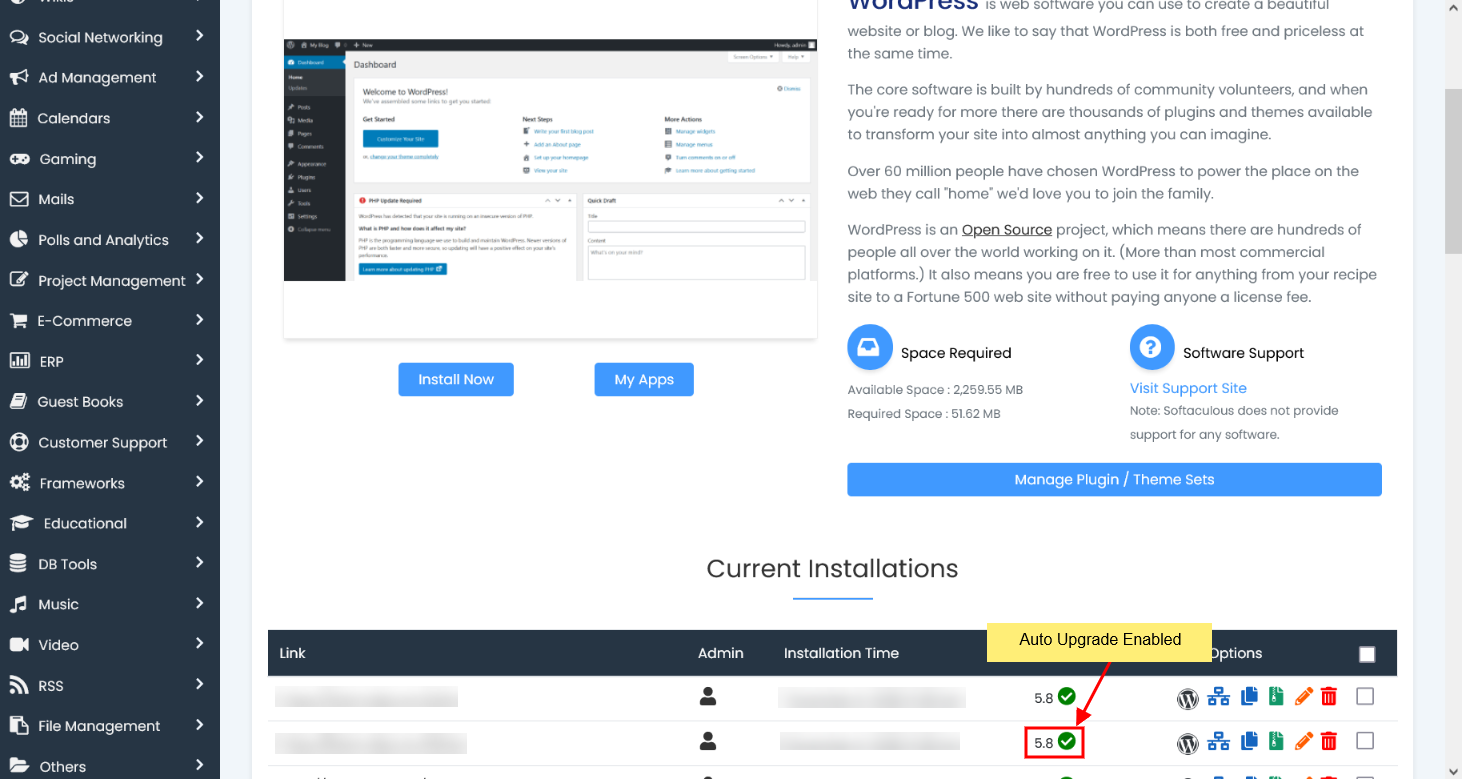
- See the below screenshot to verify that Auto Upgrade is enabled for the installation.
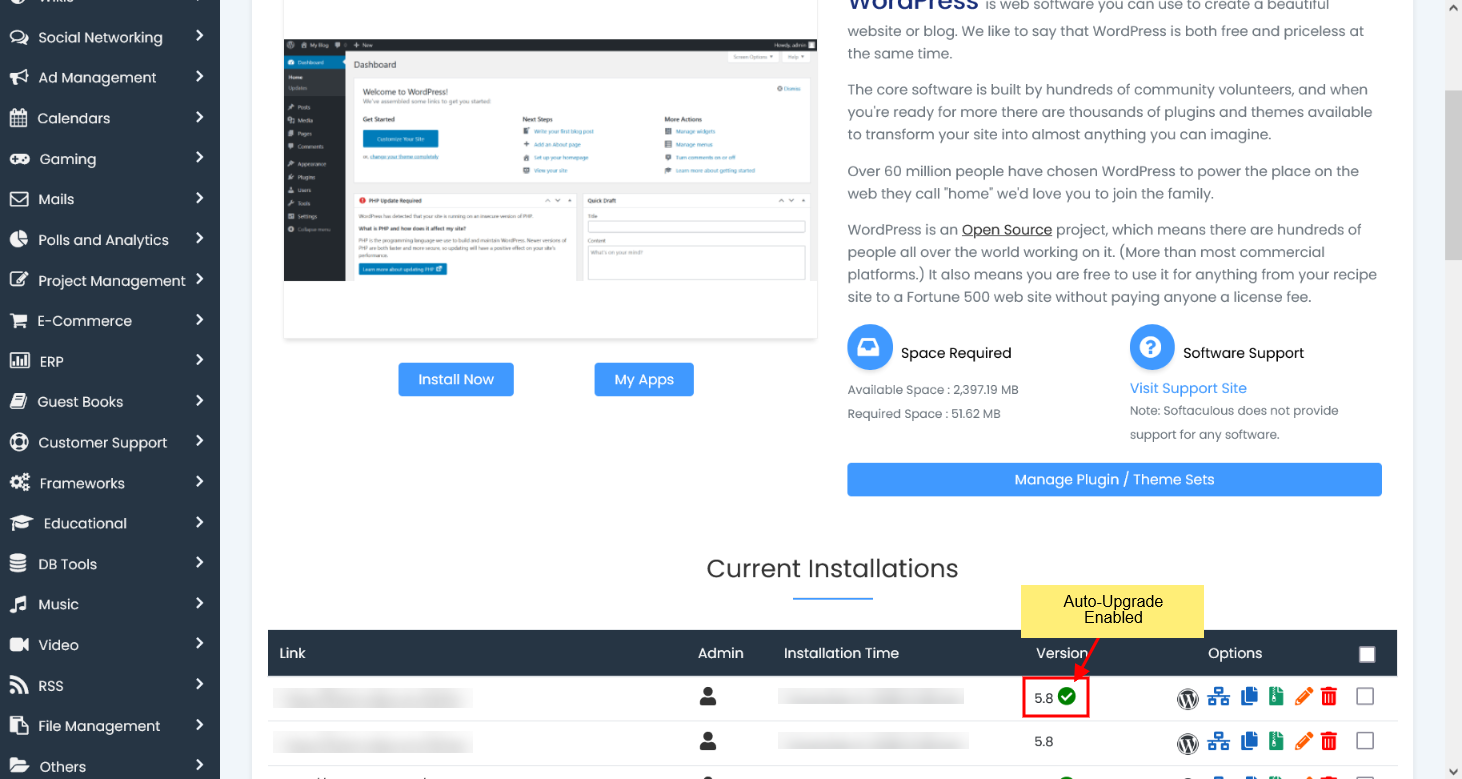
- Your installation will be auto upgraded as soon as the new version is available in Softaculous.
Enable Auto Upgrade for existing installations
You can enable auto upgrade for the existing installations as well.
- Go to the edit installation page.
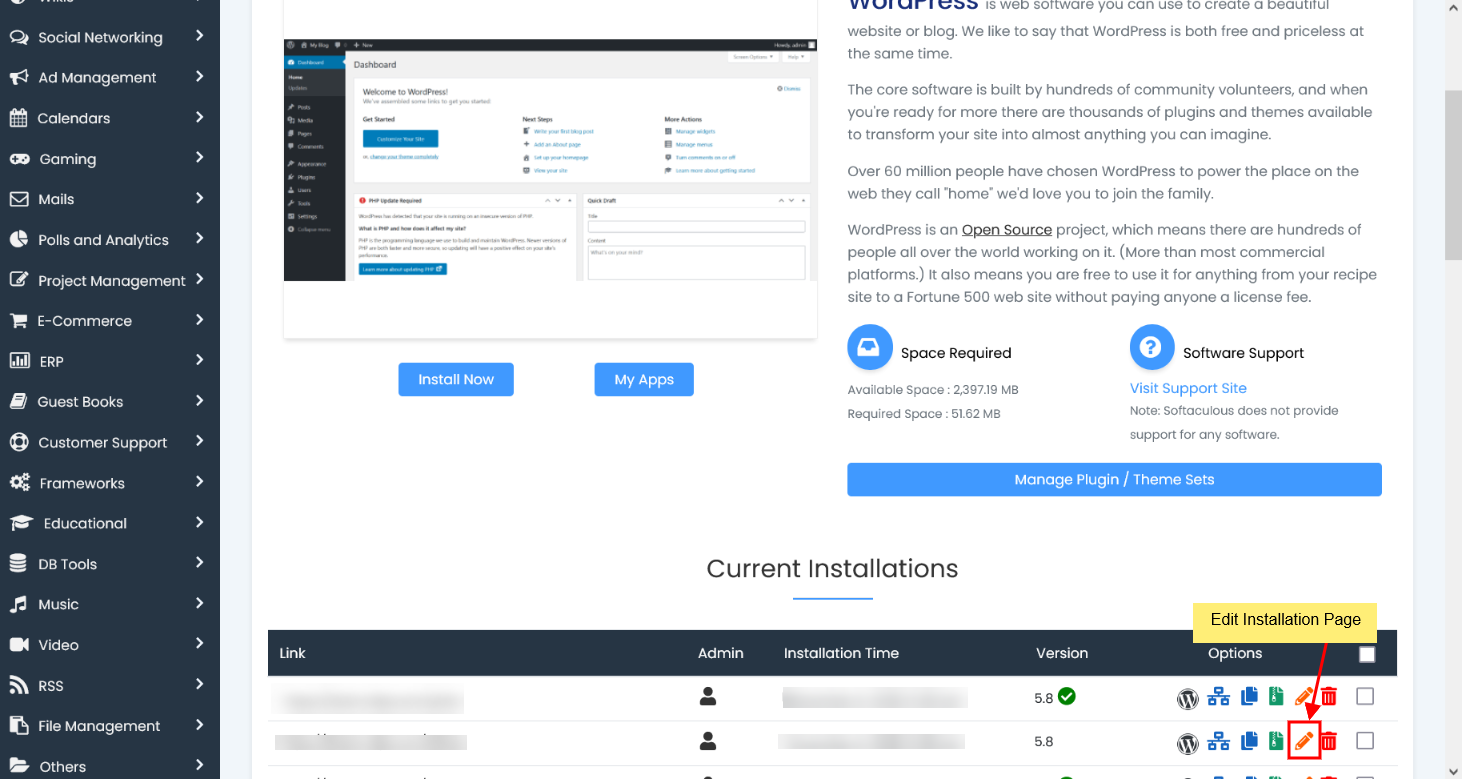
- Select the Auto Upgrade check box.
- Click on Save Installation Details button.
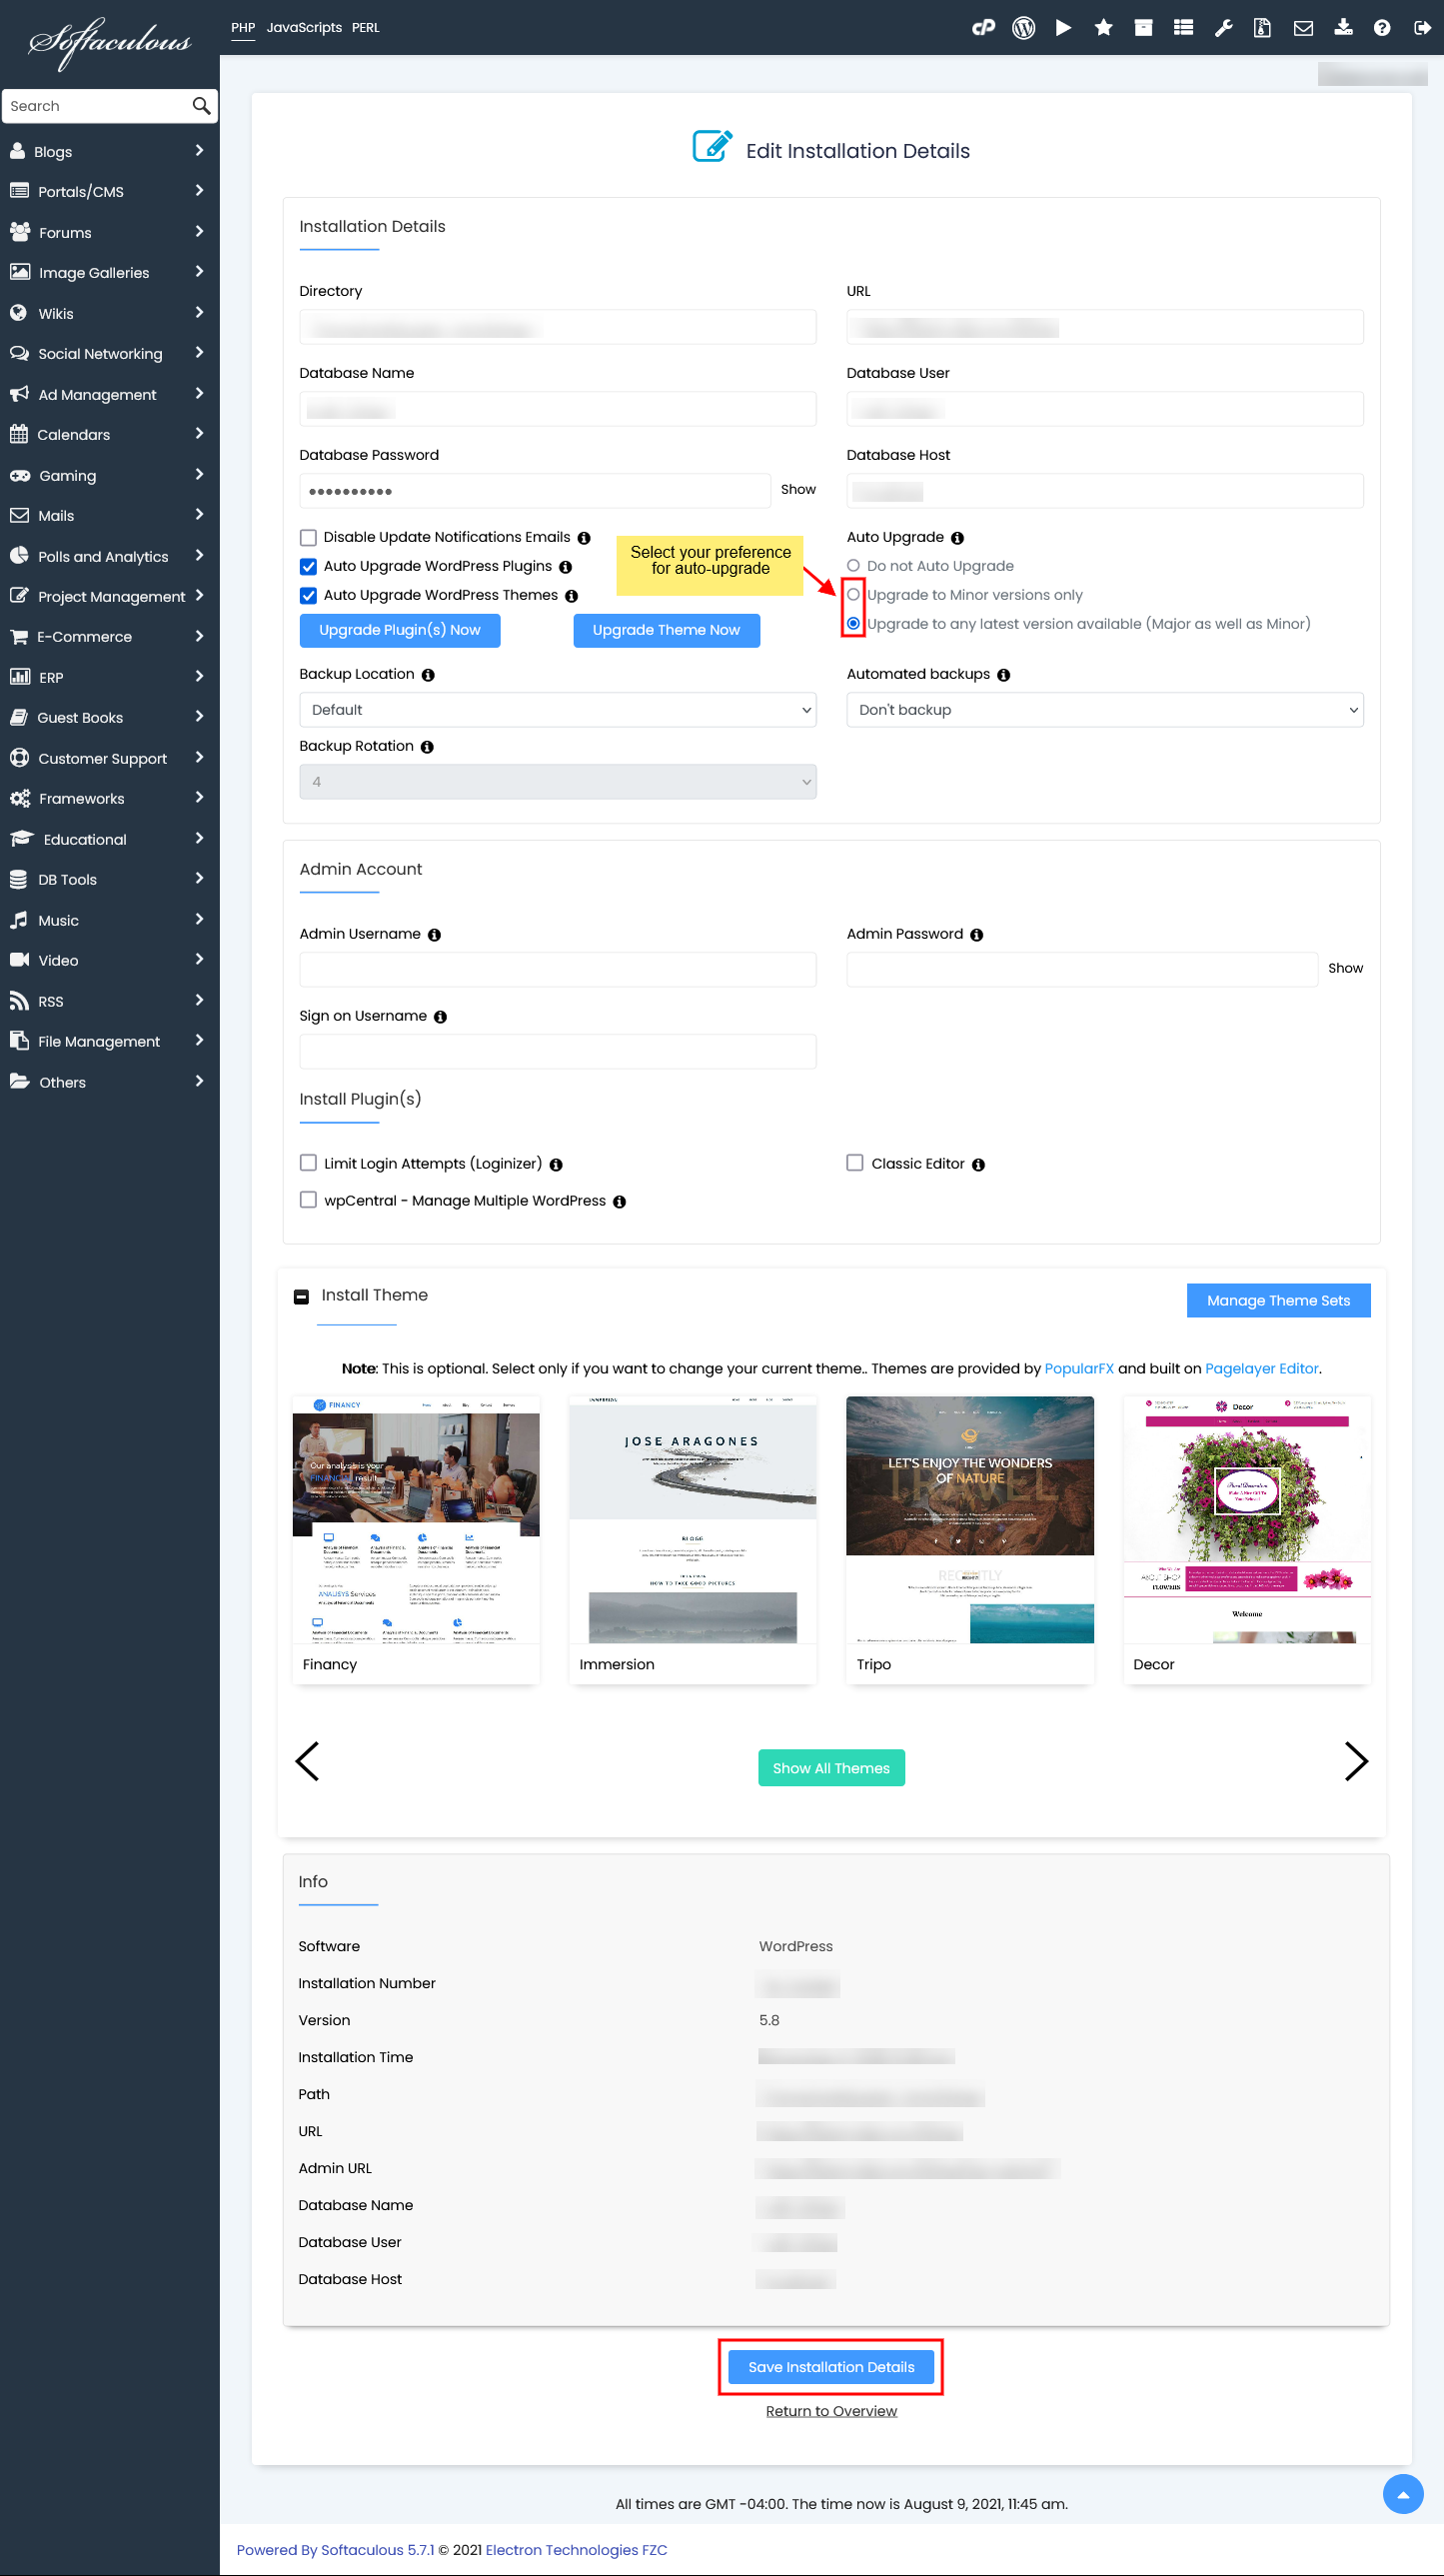
- That’s it ! You have enabled auto upgrade for your installation.
- See the below screenshot to verify that Auto Upgrade is enabled for the installation.
- If a new version is already available in Softaculous your installation will be updated when the Softaculous CRON is executed on the server (every 24 hours) and if your installation is already updated your installation will be auto updated as soon as the new version is available in Softaculous.